And you all thought Mark did all the boat projects! I’ve got a doozy ahead of me. Sixteen yards of sunbrella fabric arrived today. I’m making slip covers for the main saloon (the main cabin of the boat). The slip covers will help brighten Estelle’s interior somewhat and protect the upholstery from salt water and dirt.
Sailing friends Dave and Sarah lent me their pre-sailrite heavy duty sewing machine to get the job done. Thanks Dave and Sarah! Now I just need your chocolate mousse recipe…
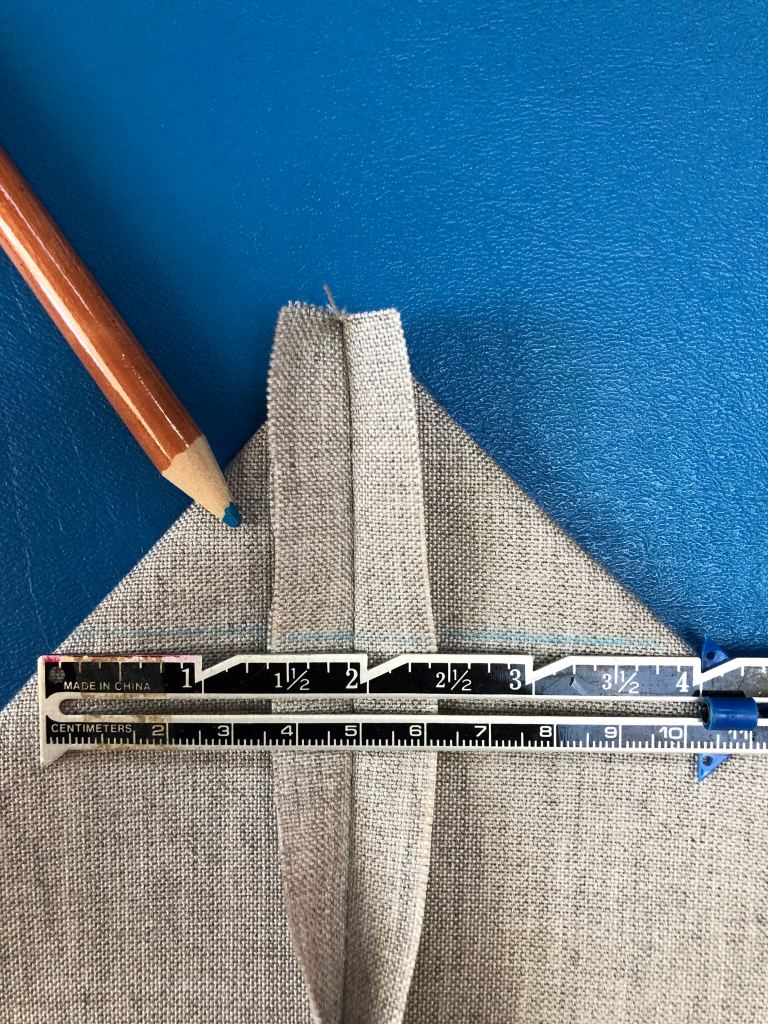
Uber seamstress, sister Christin, showed me how to make a simple box corner for an “envelope” style slip-cover. It’s easy! Basically you sew two pieces of fabric together to make a sack for the cushion. At the front corners, you sew a diagonal seam through top and bottom to accommodate the cushion’s depth. Lastly, on the back side, I simply made a fold–like I would to gift wrap a present in a box–but instead of tape I sewed velcro onto the fabric to seal my slipcover “box” closed.
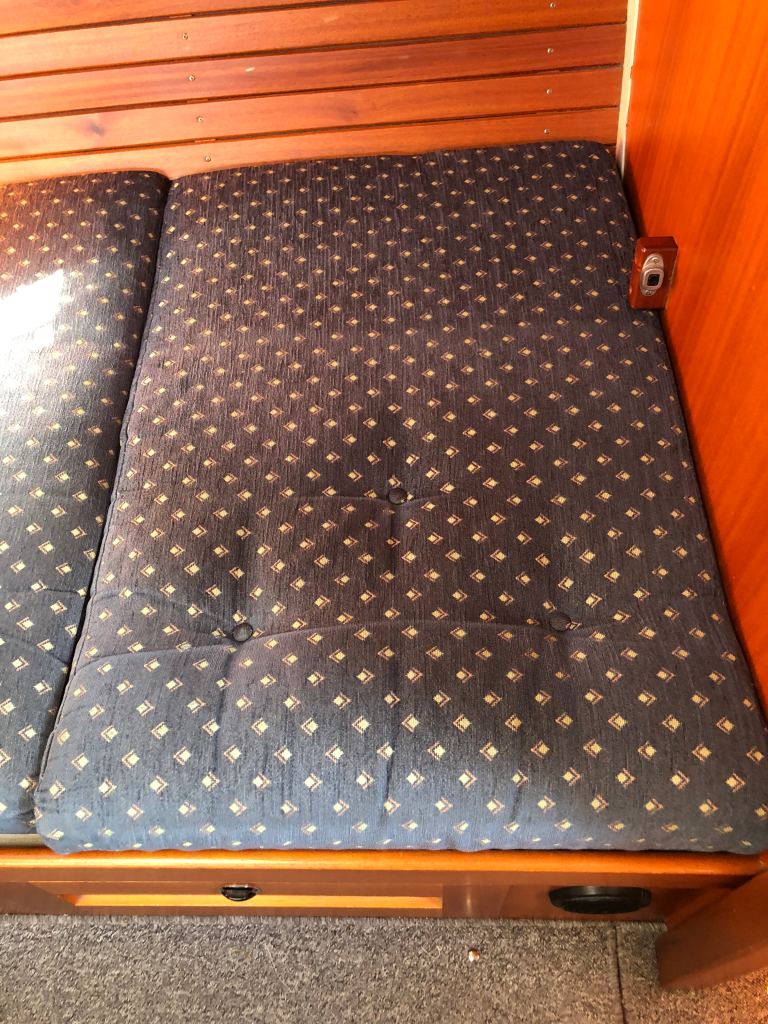
Here’s a shot of the original Hallberg Rassy upholstery that we wanted to slipcover. I began by creating a sleeve sewn along the two lengths, folded along the front width and leaving the backside of the cushion open (for now). The sleeve is measured as width plus cushion depth plus seam allowance x2 while the length is measured as length plus cushion depth plus seam allowance x2. The idea is that you are creating a double-layered rectangle that is increased from the measurements of the cushion top to accommodate the cushion depth. Another way to think of this is you are adding 1/2 of the cushion depth all the way around your rectangle plus a seam allowance. After sewing the sides of the sleeve together, leave the back width open (this will be where you insert the cushion when it’s complete). At the front corners of your sleeve, turn your fabric inside out and line up your fabric on the diagonal, creating a triangle as shown with the side seam lined up in the center–you’ll be sewing across this corner to create a box seam to match the depth of your cushion. My cushions are 4 inches deep, so the diagonal seam is marked at 4 inches across. (Took me a while to figure this out–actually sister Christin had to show me–but once I got the trick a light bulb went off and it all came together nicely.)Looking at the top of this photo, there’s the outside of my 4 inch seam that created the cushion depth. Notice that the side seam bisects the box seam on the perpendicular. (photo explanation: I got lazy on this cushion and folded my fabric over to create the sleeve rather than cut out two rectangles for the sleeve top and bottom–it works either way)On the backside of the slipcover, I made a simple “gift box” fold and sewed velcro onto the fabric to “seal it”This is the result. An easy to make cushion slipcover with just two small diagonal seams sewn into a rectangular sleeve to create the depth for the cushion, using velcro at the back with a “gift box” fold to finish the slipcover and allow easy entry for the cushion. Only 12 more to go…
We met in college, fell in love sailing, have been married 30 years, have two wonderful adult children, and are currently on board Estelle, our Hallberg Rassy 39 sailboat, crossing adventures off of our bucket list.
View all posts by Mark & Heidi Green